Crocheting is a timeless craft, loved by millions around the world for its versatility, calming nature, and creative freedom. Among the many stitches used in crochet, the slip stitch is often underestimated. It’s the shortest stitch in crochet, but don’t let that fool you—it’s a powerful tool that can bring structure, finesse, and artistic flair to your projects. In this in-depth guide, we’ll explore everything there is to know about slip stitch crochet, from the basics to more advanced and decorative uses.
1. What Is a slip stitch crochet?
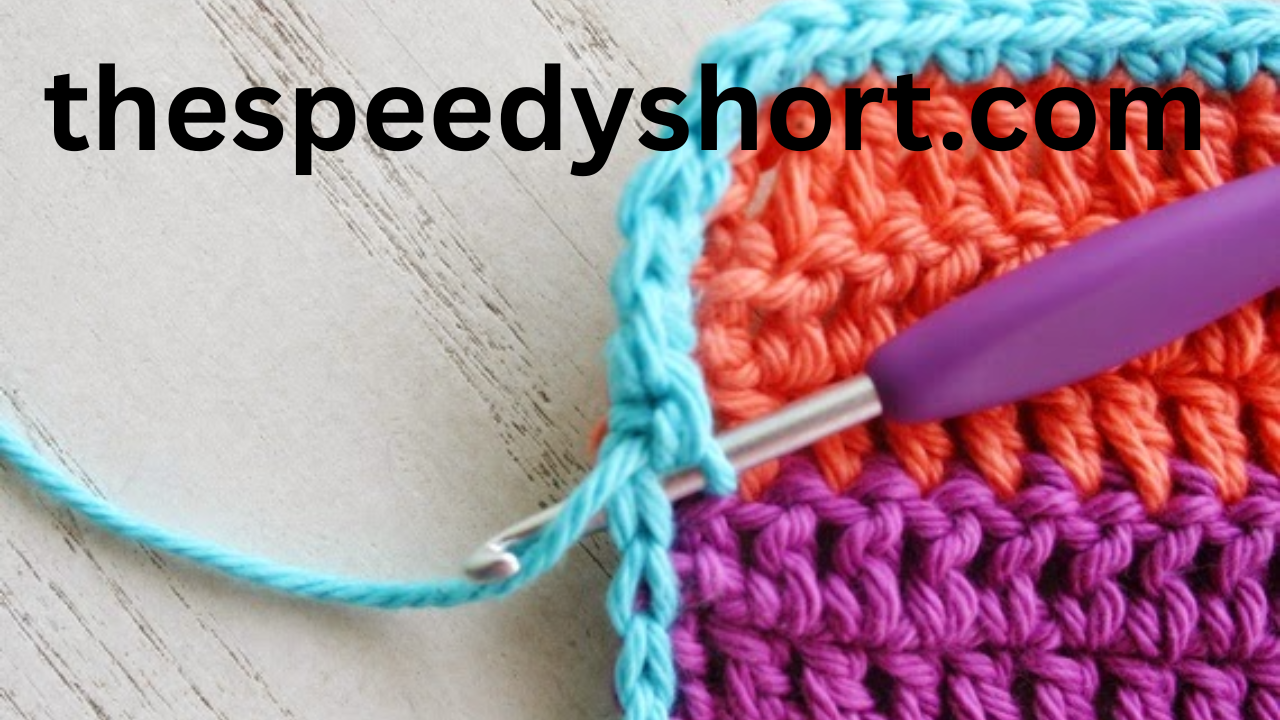
The slip stitch (sl st) is the shortest crochet stitch and one of the most commonly used. Unlike other stitches that build height, a slip stitch creates a flat stitch, making it perfect for joining rounds, finishing projects neatly, or adding subtle details. Though simple, it is incredibly versatile and can serve both functional and decorative purposes.
While many beginners encounter it early when learning to join rounds in circular patterns, the slip stitch crochet has far more to offer once its potential is fully understood.
2. How to Make a Slip Stitch
Making a slip stitch is one of the easiest techniques in crochet. Here’s a simple step-by-step guide:
- Insert your hook into the designated stitch or space.
- Yarn over (YO) – wrap the yarn over the hook from back to front.
- Pull the yarn through both the stitch and the loop on your hook in one smooth motion.
You’ll now have a single loop on your hook. This completes the slip stitch.
Pro Tip:
Slip stitches are not meant to be tight. Keep your tension relaxed to avoid difficulty working into the next row or round.
3. Slip Stitch Abbreviations and Symbols
In written patterns and charts, slip stitches are abbreviated or represented in different ways:
- Abbreviation: sl st (US), ss (UK)
- Symbol (in charts): a small dot or a short horizontal line
Make sure to check whether a pattern uses US or UK terms, as this affects other stitch meanings but not slip stitch—it’s consistent across both systems.
4. When and Why to Use slip stitch crochet
Slip stitches are small but mighty. You’ll often use them to:
- Join rounds in circular crochet projects (like hats, doilies, or mandalas).
- Move your yarn to a new location without adding height (great for shaping or color changes).
- Create a seam between two crochet pieces.
- Finish off projects neatly and add stability to edges.
- Add texture or decoration (especially in surface crochet or ribbing techniques).
They’re also invaluable in amigurumi and garment-making, where precision and subtle shaping are essential.
5. Slip Stitch as a Join
One of the most common uses for slip stitches is joining rounds in crochet. When you’re working in the round—say for a beanie or granny square—you’ll often need to “close” the round. A slip stitch helps do this seamlessly.
Example:
plaintextCopyEditRound 1: Ch 3 (counts as dc), 11 dc into ring. Join with sl st to top of ch-3.
The slip stitch here connects the end of the round to the beginning, forming a smooth, closed circle.
6. Decorative and Structural Uses
Slip stitches can be used as a decorative edge or even as the main feature of a design. They can:
- Add simple borders to finished projects
- Create shiny, flat lines across textured crochet fabric
- Act as subtle ridges or highlights in designs
Structurally, they’re used to strengthen weak edges, reinforce buttonholes, or make seams more durable.
7. Slip Stitch Croc het Fabric
When worked across rows, slip stitches can form an entire fabric. This is known as slip stitch crochet, and the result is dense, slightly stretchy, and beautifully textured.
Types of Slip Stitch Croc het Fabrics:
- Standard slip stitch fabric: Very tight and firm.
- Back loop slip stitch fabric: Produces a knit-like ribbing effect.
- Front loop slip stitch fabric: Also creates a unique texture with a slightly ridged surface.
Because slip stitches create minimal height, you’ll often need more rows to get the same length as you would with other stitches, but the texture is unmatched.
8. Surface Slip Stitching
Surface crochet is a method of adding design elements on top of existing fabric using slip stitches. It’s a fun, creative technique that lets you “draw” with yarn.
How to Surface Slip Stitch:
- Lay your crochet piece flat.
- Insert your hook through the fabric from the front to back.
- Pull up a loop of new yarn.
- Work slip stitches across the fabric following your desired pattern.
You can outline shapes, add words, or create abstract designs. This is especially popular in freeform crochet and personalized gifts.
Previous article; Kidz Bop Dance monkey A Kid-Friendly Twist on a Global Hit
9. Working in Back Loop Slip Stitch
Working only in the back loop of each stitch creates a flexible, ribbed fabric. It looks like knit and is often used for:
- Hat brims
- Cuffs
- Collars
- Blankets with a woven look
How to Do It:
- Locate the back loop (the loop farthest from you).
- Insert your hook only through that loop.
- Work a regular slip stitch.
The result is a stretchy, reversible texture that behaves differently from standard crochet.
10. Common Mistakes and How to Avoid Them slip stitch crochet
Even though it’s a simple stitch, slip stitch croc het can trip you up if you’re not careful.
Mistakes to Watch For:
- Too-tight tension: Makes it nearly impossible to work the next row.
- Missing stitches: Because slip stitches are small, it’s easy to skip them unintentionally.
- Uneven rows: Consistent stitch placement and tension are essential.
Fixes:
- Use a slightly larger hook than you would for other stitches.
- Count your stitches frequently, especially in patterned designs.
- Practice slowly and consciously until your hands get used to the feel.
11. Slip Stitch Patterns and Ideas
Looking for inspiration? Here are some creative ways to use slip stitches in your next project:
1. Slip Stitch Dishcloth
A great beginner project that lets you practice rows of slip stitch, with or without back-loop ribbing.
2. Ribbed Beanie Brim
Use back-loop slip stitches to make a stretchy brim, then switch to taller stitches for the crown.
3. Surface Stitch Mandala
Add colorful slip stitch patterns over a solid mandala base.
4. Slip Stitch Sweater
Some designers use slip stitch fabric to create lightweight, form-fitting garments with a knit-like feel.
5. Decorative Borders
Finish your blankets, shawls, or scarves with a simple slip stitch edge for a clean look.
6. Lettering
Add initials or words with surface slip stitching using contrasting yarn colors.
12. Final Thoughts
While often overlooked, the slip stitch crochet is an essential part of every crocheter’s toolkit. It may not build height or create dramatic textures on its own, but it’s the backbone of clean joins, decorative flourishes, and precise shaping.
From basic joins to intricate surface designs, slip stitches offer an understated elegance and utility that no other stitch quite matches. Whether you’re a beginner learning the ropes or an experienced crocheter looking to refine your technique, mastering the slip stitch will open new doors in your creative journey.
So, the next time you pick up your hook, give the humble slip stitch a little extra love. You might be surprised just how far it can take your crochet.